Administration
Manage
This panel enables user to set up the source engine, here you are able to set the Source-and Target engines in order to synchronize the engines and the runtime.
This will allow you to import the mappings which you or a team member may have completed in Studio or the generated manual code in Visual Studio which includes the Business Object Card and related items, such as Valuesets, Constants rules and Bags.
In order to proceed follow the below steps:
-
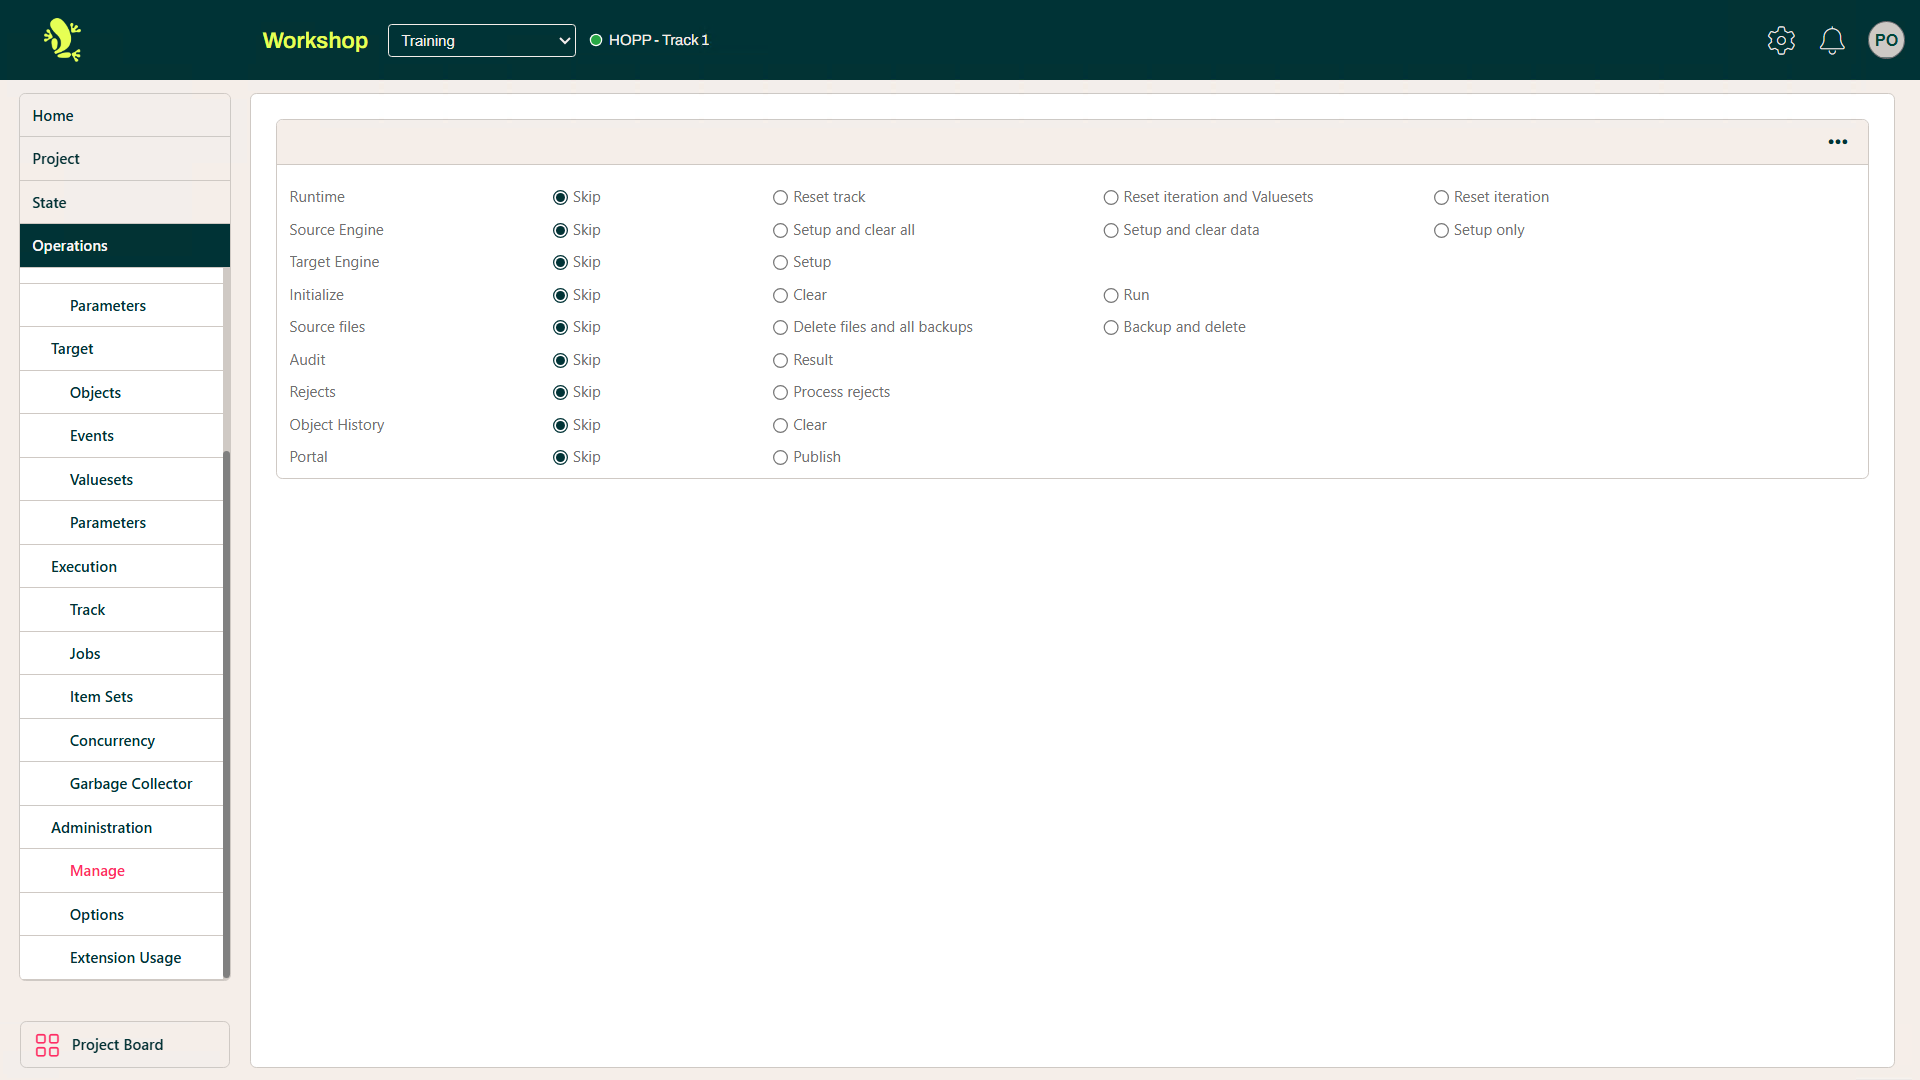
Check these radio buttons
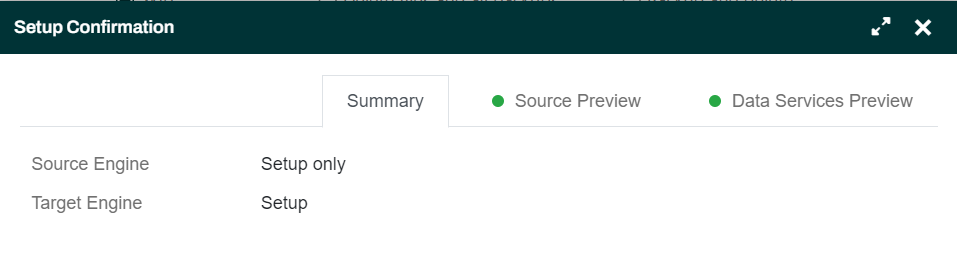
- Source Engine: Setup only
- Target Engine: Setup
- Leave all other on Skip
-
Click the Action Context Menu and select Submit
-
The Portal Operations will now show a dialog previewing the changes in the runtime. In this case the changes are
-
for the Source engine:
- The new Source metadata structure Src.DebitCard
- The new View CardStatus
- The new Business Entity Card
-
for the DataServices:
- Valueset TranslateCardTypes from the Source engine
- Valuesets CardTypes and CardStatus from the Target Engine
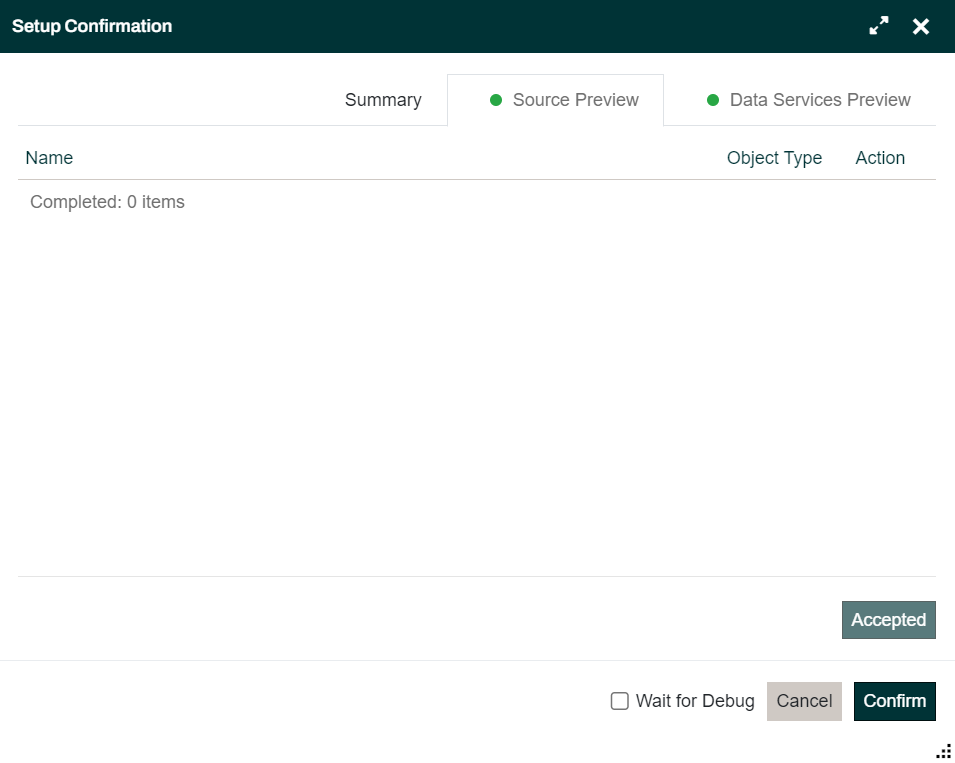
- Initially, the tabs in the dialog are marked with a red dot. This is to warn you of potential data loss
- You need to click the Accept button on both the Source preview tab and the DataServices preview tab in order to enable the Ok button
-
-
Click Ok and the Portal Operations will submit two jobs, one for each engine
These last 2 steps of restarting the Track and running setup of the newly deployed engines can be launched directly when deploying the engine from Visual Studio. Just check the Start/Restart Track checkbox and the Run setup checkbox in the Deploy dialog.
You have built and deployed the Source- and Target engines to the Portal Operations and runtime environment. By restarting the track, you cause the track to load the new engines and finally by running the 2 setup jobs you have synchronized the engines and the runtime so the latter now knows about the new items you have added in Studio.
Prune events
Over time a project collects events that no longer occur, for instance after the event messages have been reworked to carry their variable data in parameters. The Event list still shows these old events with counts 0 and the State Done. The Prune events job removes them from the project.
-
Set Prune events to Prune and leave the rest on Skip
-
Click the Action Context Menu and select Submit
-
On the Prune events tab of the Setup Confirmation dialog, choose what to include:
- Event types: User events, System events, or both
- Steps: Export, Import, Delivery, or any combination
The Confirm button is enabled once at least one event type and one step are checked.
-
Click Confirm to submit the job
The job runs for the whole project, not only the track you submit it from. It removes the events of the chosen types and steps that no longer occur on any of the project's active tracks: the tracks the project currently uses that have Publish checked and are not Archive tracks (see Tracks). These events are always kept:
- events that occur on any active track
- events that have a comment
- events that other events are derived from, and events derived from others
An event that occurs only on an unpublished track, an Archive track, or a track the project no longer uses is not protected by those occurrences, and can be pruned.
Pruning permanently deletes the events, including their history. It cannot be undone.
Options
This Option menu item contains a number of settings/options that are available.
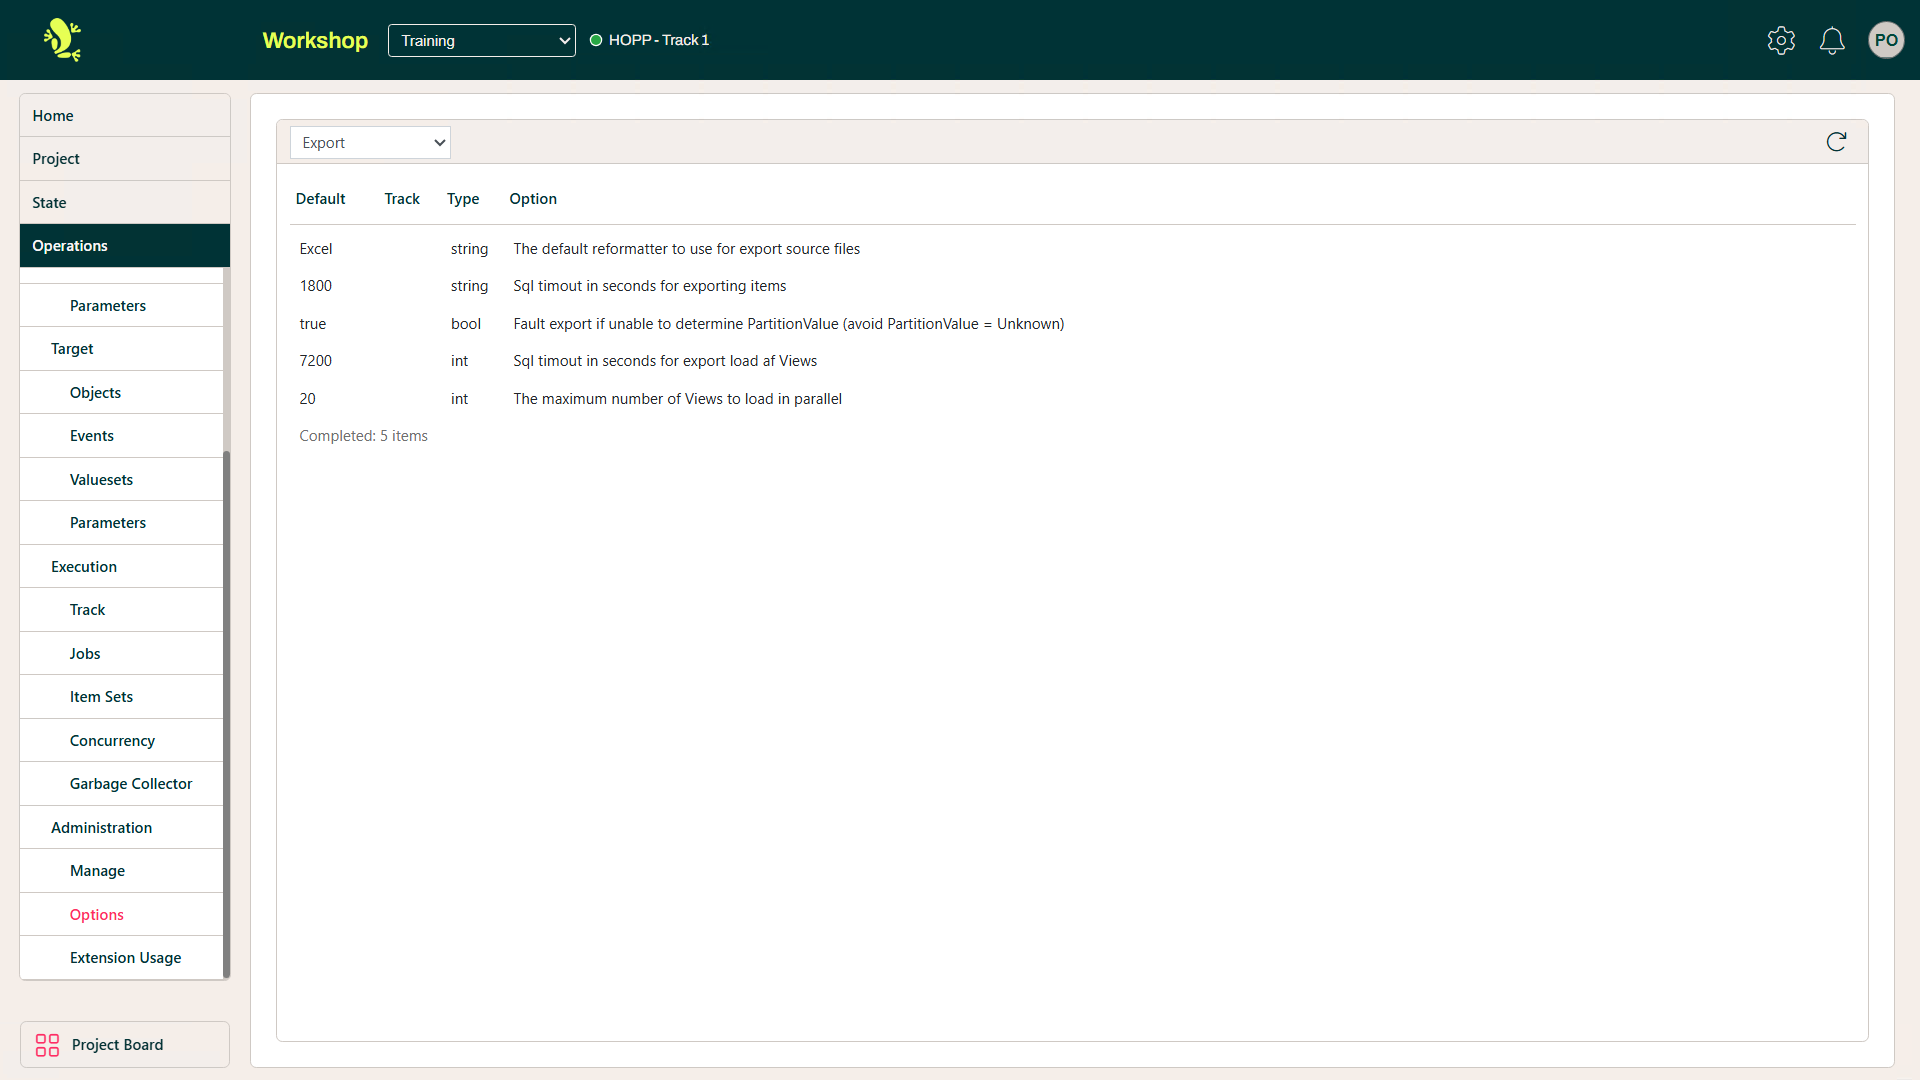
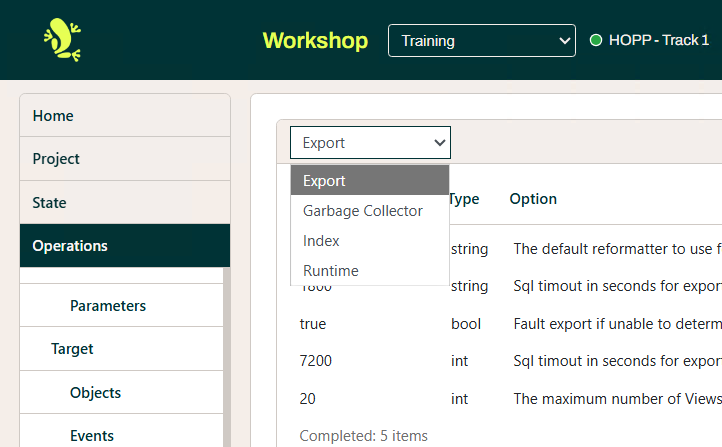
In the dropdown, you can select the execution area that the options are applicable to.
Extension Usage
The Extension Usage menu item allows you to provide parameter values for any Extensions being used.
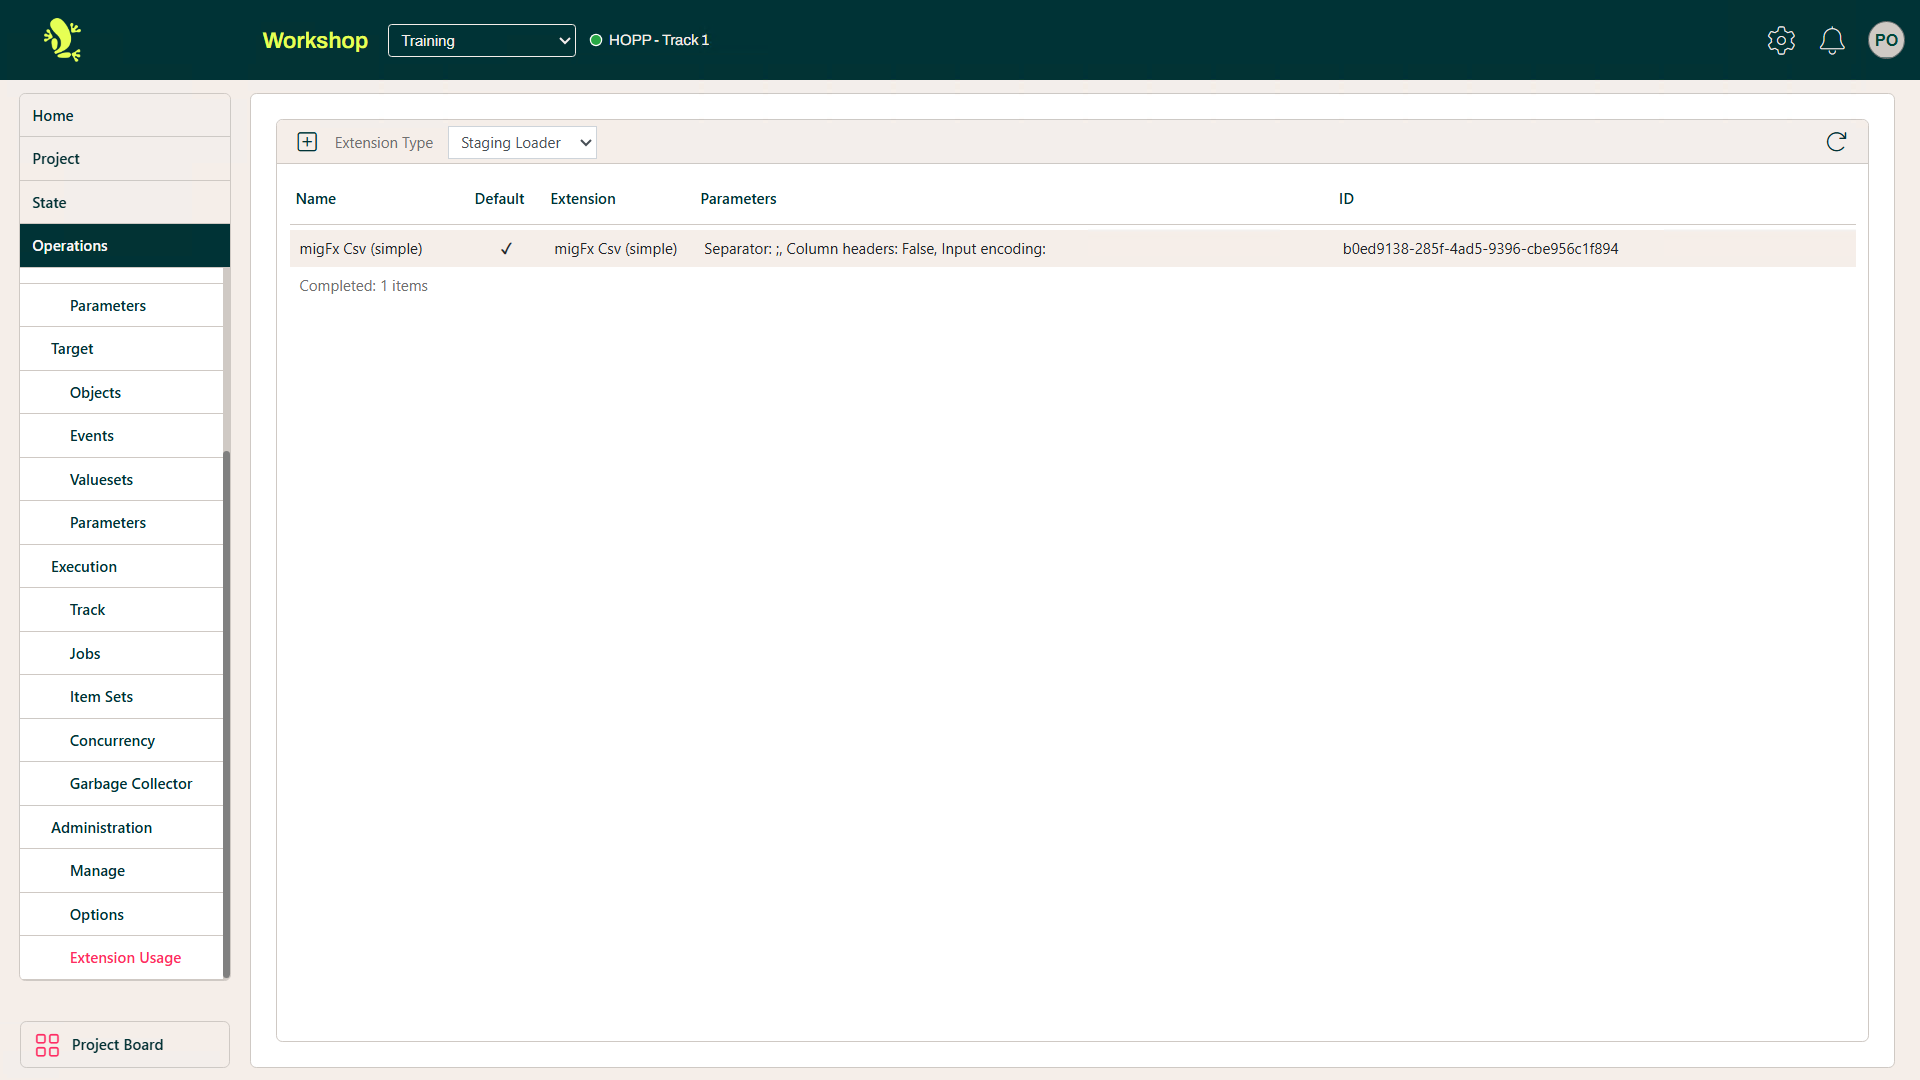
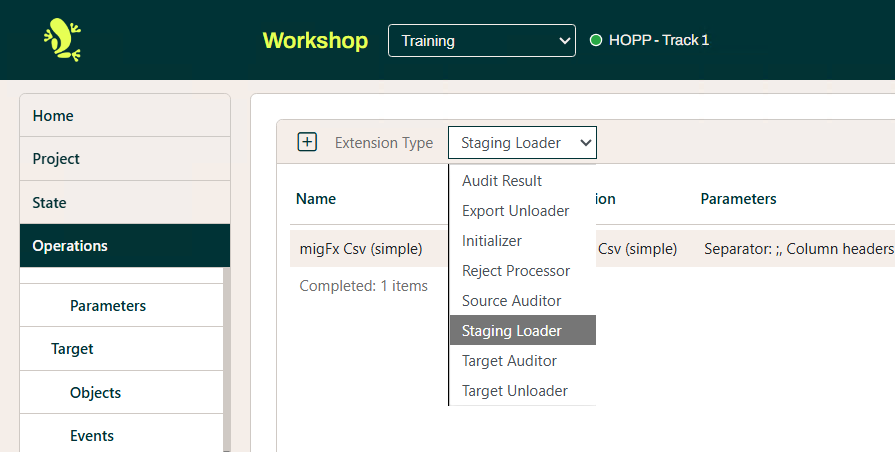
In the dropdown, you can select the Type of Extension.
The Context Menu allows you to update the Extension selected.
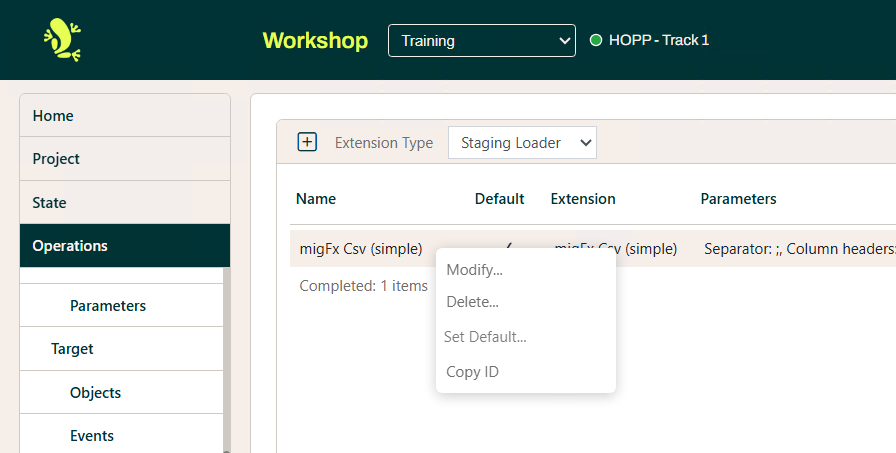
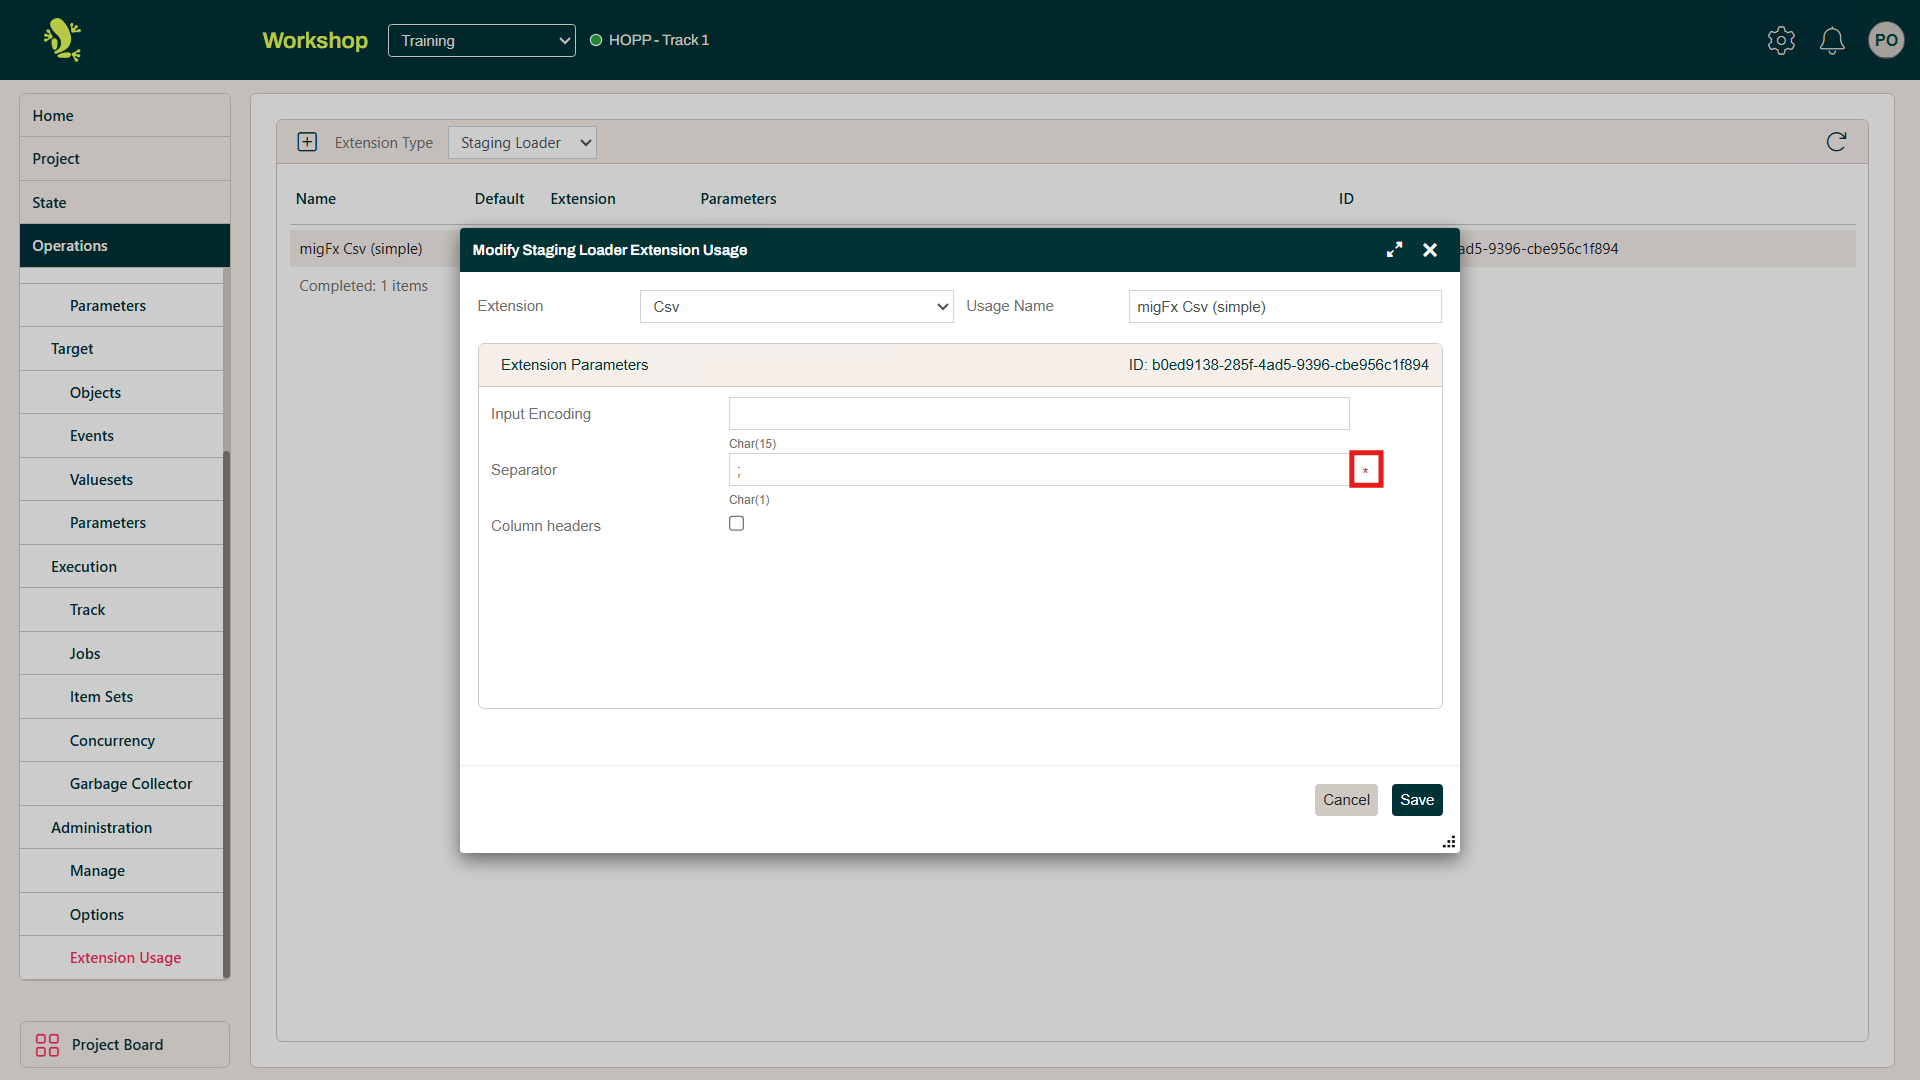
When modifying Extension Parameters, any mandatory fields are indicated with an asterisk.